How to make a folding Prone Mat for under $30 with supplies from Walmart
By William Dutton
Director, Hudson Fish and Game Club Junior Rifle Team
 |
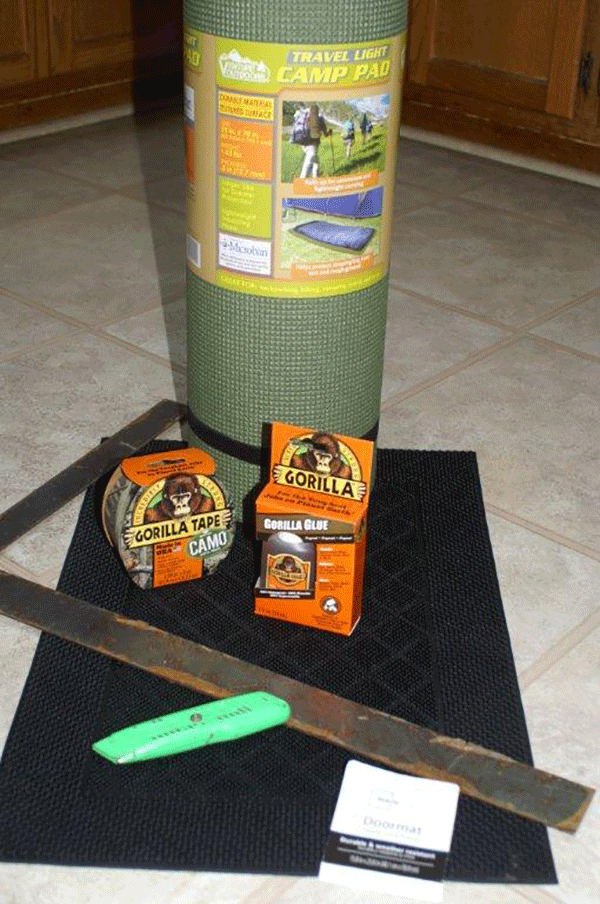
As a director and coach of a rapidly growing junior rifle team, I have been struggling to get equipment to suit all of my new shooters. During my indoor season, its easy enough to make ends meet with two different nights to split the team up. But with outdoor season upon us and 15 shooters moving to our outdoor 17 position range, we will have to find a way to get all of them shooting prone and I had only 6 mats on hand (5 shooters already had their own mats). Prone mats range in price from $70 to $120 + shipping. I had to quickly and economically get prone mats for all.
Rummaging through the local Walmart, I tried a few things. I settled on the combination of camping mat with a rubber door mat. The camping should not be the eggshell crate type. I chose one that had a smooth side so I could glue the rubber door mat to it. The door mat I found was a very flexible rubber mat with rubber stippling which makes it the perfect texture for maintaining good elbow position without discomfort. If you can’t find the right mat at your local hardware, Walmart or home furnishing store, you can try looking online for non slip rubber mats sold in bulk rolls like this one for $52 for 4ftx4ft: http://www.floormatcompany.com/rubber-floor-mats/non-slip-mats/super-grip-scraper-rubber-mats.html
That’s enough to do 6 mats with the dimensions I used.
Shopping List:Tools:
 |
Dimensions:
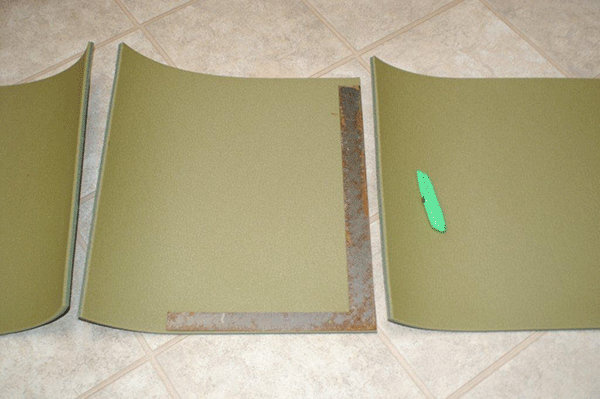
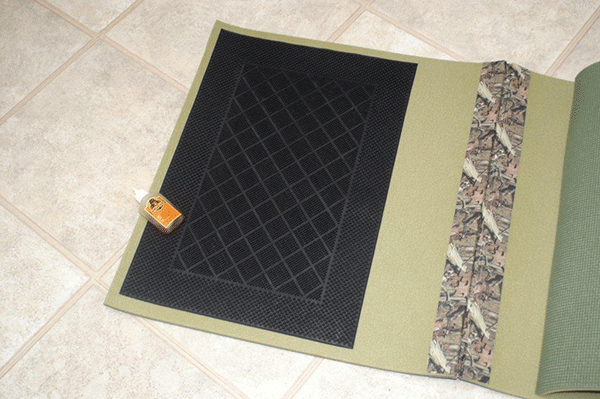
Directions: The camping mat is 25 inches wide and the door mat is 23.5 inches wide. So all cuts will keep within the dimension of the camping mat width. Camping mat shown has a smooth (inside) and dimpled (outside) sides. You will want to keep the dimpled/rough side on the outside.
1.Cut camping mat into 3 sections
a) 2 sections 23 inches long and one section 21.5 inches long
 |
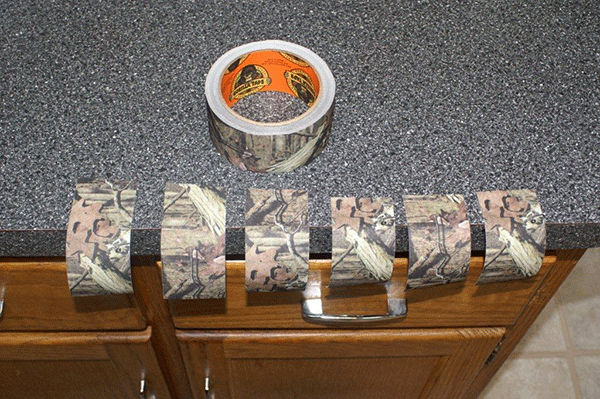
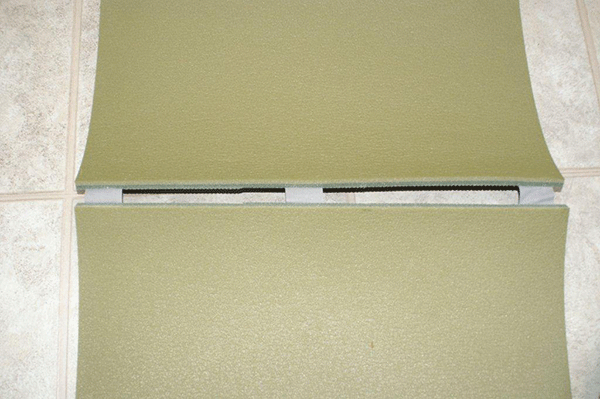
2.Bind the 23 inch sections together with the tape.
a)
Cut 6, 4 inch sections of tape. You will use three on each side.
 |
b) Lay the 23 inch sections on top of each other, with the smooth, inside sections facing each other
c)
Align the edges and wrap the short sections of tape around length wise with one strip in the middle and the other two on edges.
 |
d) Open the sections with the inside facing up and pull them apart so there is about a 1 inch gap and use the remaining tape strips aligned with the 3 strips you used. Push these together so they bind to each other.
 |
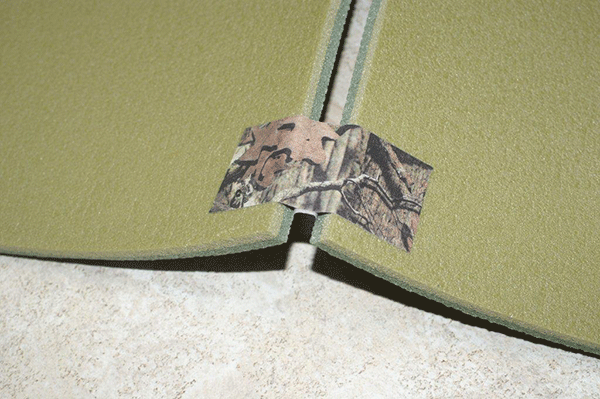 |
e) Lay 3 overlapping sections of tape along the length of the inside.
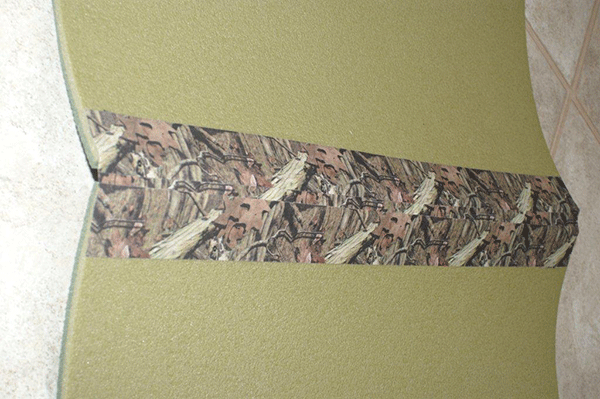 |
f) Fold the 23 inch sections with the smooth inside sections facing each other.
g)
While still folded, lay another 3 sections of overlapping tape to completely cover the gap.
 |
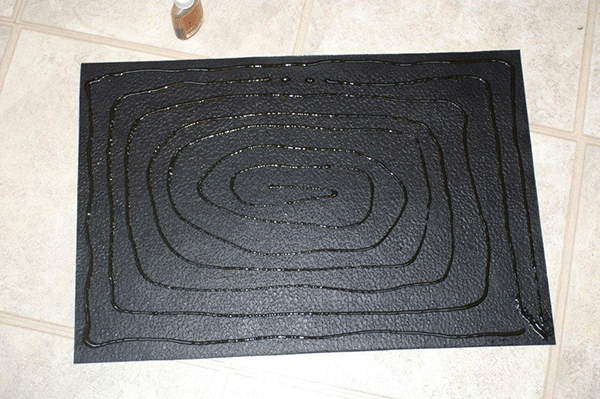 |
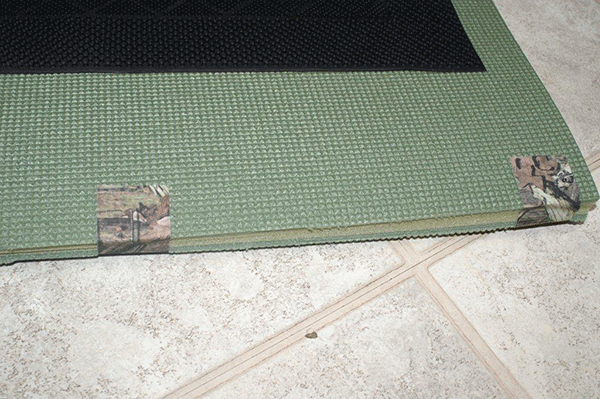
d) Align the glued mat to the dampened, smooth inside section of the camping mat with an equal border around the top three sides of the mat.
 |
 |
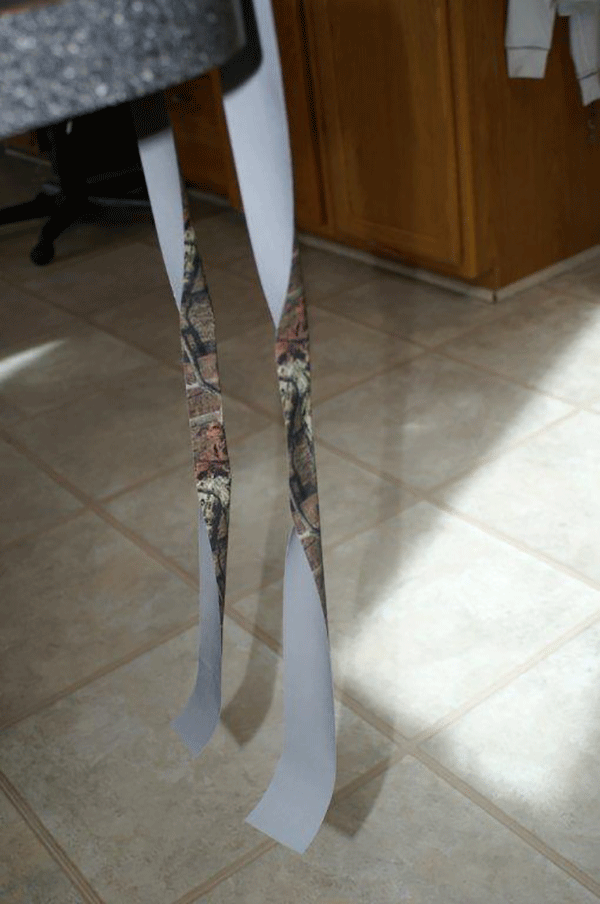
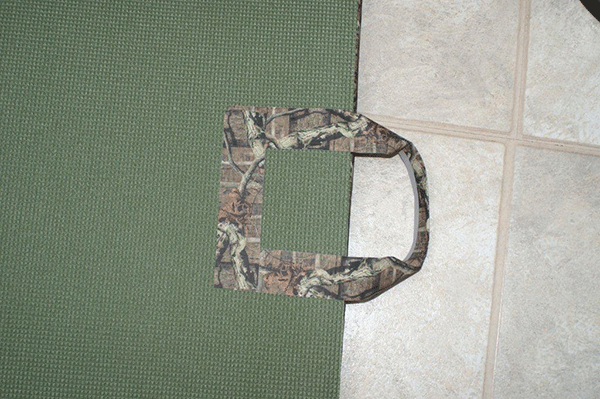
5. Add some tape handles to the mat.
a) Fold the mat together. This should be with the bottom 21.5 inch section folded inside first.
b) Cut a length of tape about 18-20 inches long.
c) Fold the middle 4-5 inches inside of itself.
 |
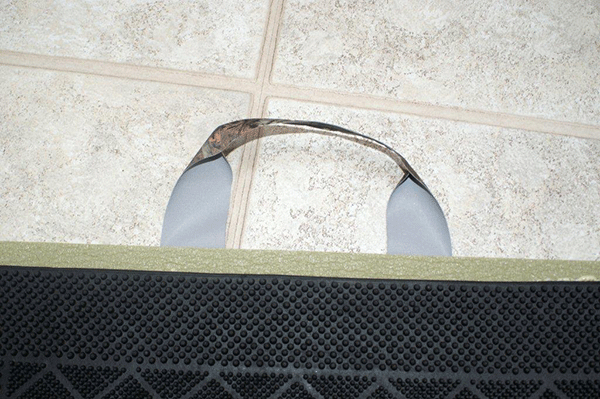
d) Apply the unfolded sections of the tape to the rough outside of the now folded 23 inch center section… make sure it’s the part that is at the open end of the tri fold mat. Make sure to leave about 4 inches of the folded handle section clear of the mat.
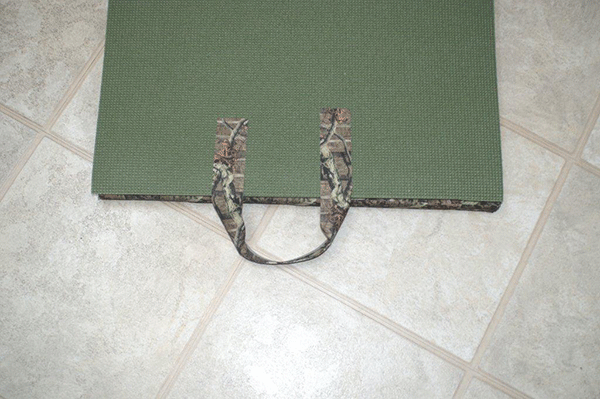 |
e) Do the same again with the rough outside edge of the 23 inch section. Do your best to align it with the tape handle from the other side
f) Cover any exposed glue side tape with a small section of tape.
 |
 |
g)
Put a reinforcing section of tape along back side of the tape handle
 |
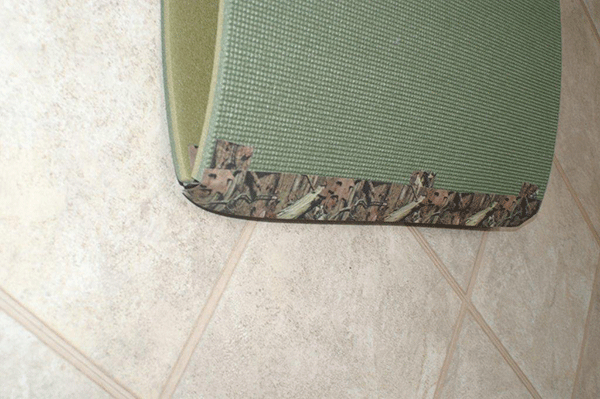
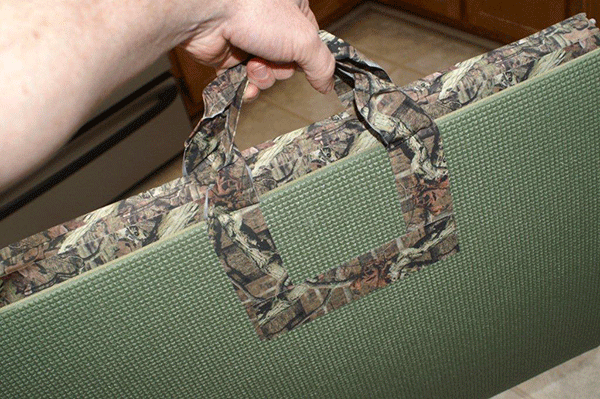
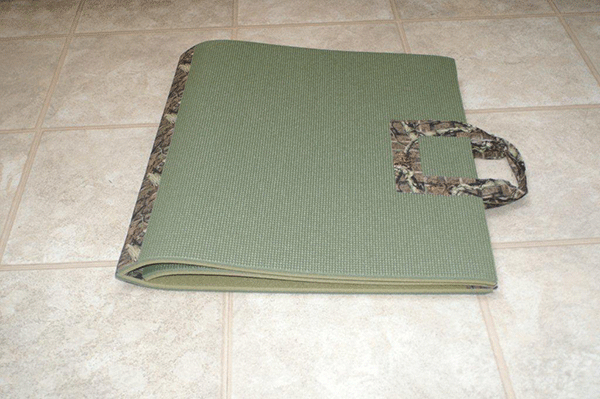
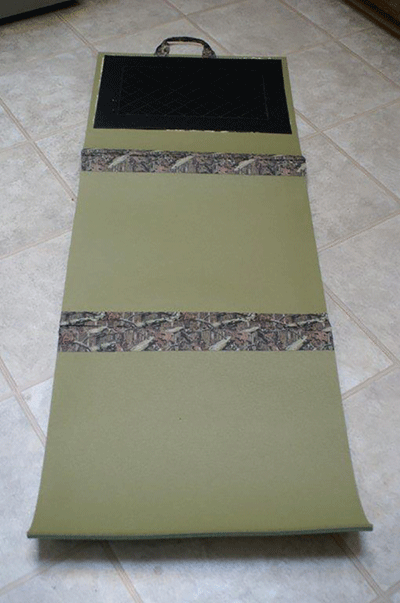
Finished Product:
 |
 |
 |
I found that I required just over one roll of tape using the instructions above. You can save some money by buying the large black roll of gorilla tape for about $2 more than the camo roll and about 3 times more tape. Enough to do about 2-3 mats like this. The glue shown should do about 2 mats.
I also found its best to get some help to hold edges down because the camping mat will want to roll up. It does help to roll the mat in the opposite direction a couple of times to get it to straighten out some.
I hope this helps those who need to get equipment for their team but are on a tight budget.